We’ve covered annealing of brass cartridge cases before but to recap – annealing is a heat treatment process that alters the physical and sometimes chemical properties of a material to increase its ductility and reduce its hardness, making it more workable. It involves heating a material above its recrystallization temperature, maintaining a suitable temperature for a suitable amount of time and then cooling. (Thank you Wikipedia for that definition).
A brand-new brass cartridge case is ‘ductile’ and can easily be moulded – or sized. But, the firing process removes this ductility (about five firings will do it) and causes the brass to become springy. It becomes more difficult to re-size and thus more difficult to chamber the cartridge. The all-important neck-tension will also become inconsistent. Note – only the firing process – NOT the re-sizing process – causes this alteration in ductility. This was established some time ago by an excellent dissertation on annealing penned by British university student aided by an experienced shooter/reloader.
Most serious shooters are sold on the annealing process – unless they are prepared to scrap their brass after five firings! There are several methods of annealing that I know of. My first attempt involved spinning the case in an electric-drill whilst applying a blow-torch to the neck until the case glowed cherry-red. It was then dropped into a bucket of water. Very hit and miss – and very dangerous!
The blow-torch method has been refined over the years, using precise timing and temperature control (using a heat-sensitive paint called Tempilaq). Various machines are now available to facilitate the process. I was on the point of buying one myself – until I was introduced to the AMP induction annealer. It quickly became obvious that the blow-torch method – although well capable of annealing brass safely – was far from the ideal, with regard to consistency and thus accuracy.
For example, the AMP settings chart lists no fewer than 25 different programmes just for the 308Win case – depending on manufacturer! It will also take into account cases that have been neck-turned. Sorry, but no paint, stop-watch and blow-torch rig can come close to the AMP.
Of course, the AMP is not cheap – if it were, we wouldn’t be using blow-torches and paint. But, there is another annealing method I’ve just heard of and I thought it might be worth sharing. Some of my fellow club members have been using the ‘salt bath method’ with seemingly good results. Also, the kit needed is quite modest but, I’ll let Paul take up the story as he has successfully annealed many cases using the salt bath method.
Salt bath annealing
I couldn’t justify the cost of an AMP annealer and the blow-torch and paint method just didn’t appeal, so I set out to search the ‘net to see if there was a cheaper and just as effective way of achieving the same results.
The salt bath method uses molten salt to heat up the cartridge-case rather than a blow-torch or induction coil. The temperature of the salt can be controlled very precisely using a digital thermometer and thermocouple – which I would imagine is a good deal more accurate than Tempilaq.
Equipment
After doing some further research I came across a video by Ballistic Recreations of Canada, (www.ballisticrecreations.ca) using molten salts to anneal brass cases that looked significantly cheaper than either the AMP or a blow-torch carousel. So, I ordered a Lee Smelting pot (readily available in the UK) and the case holder, the thermo-coupling and the digital temperature monitor from Ballistic Recreations for about £90.
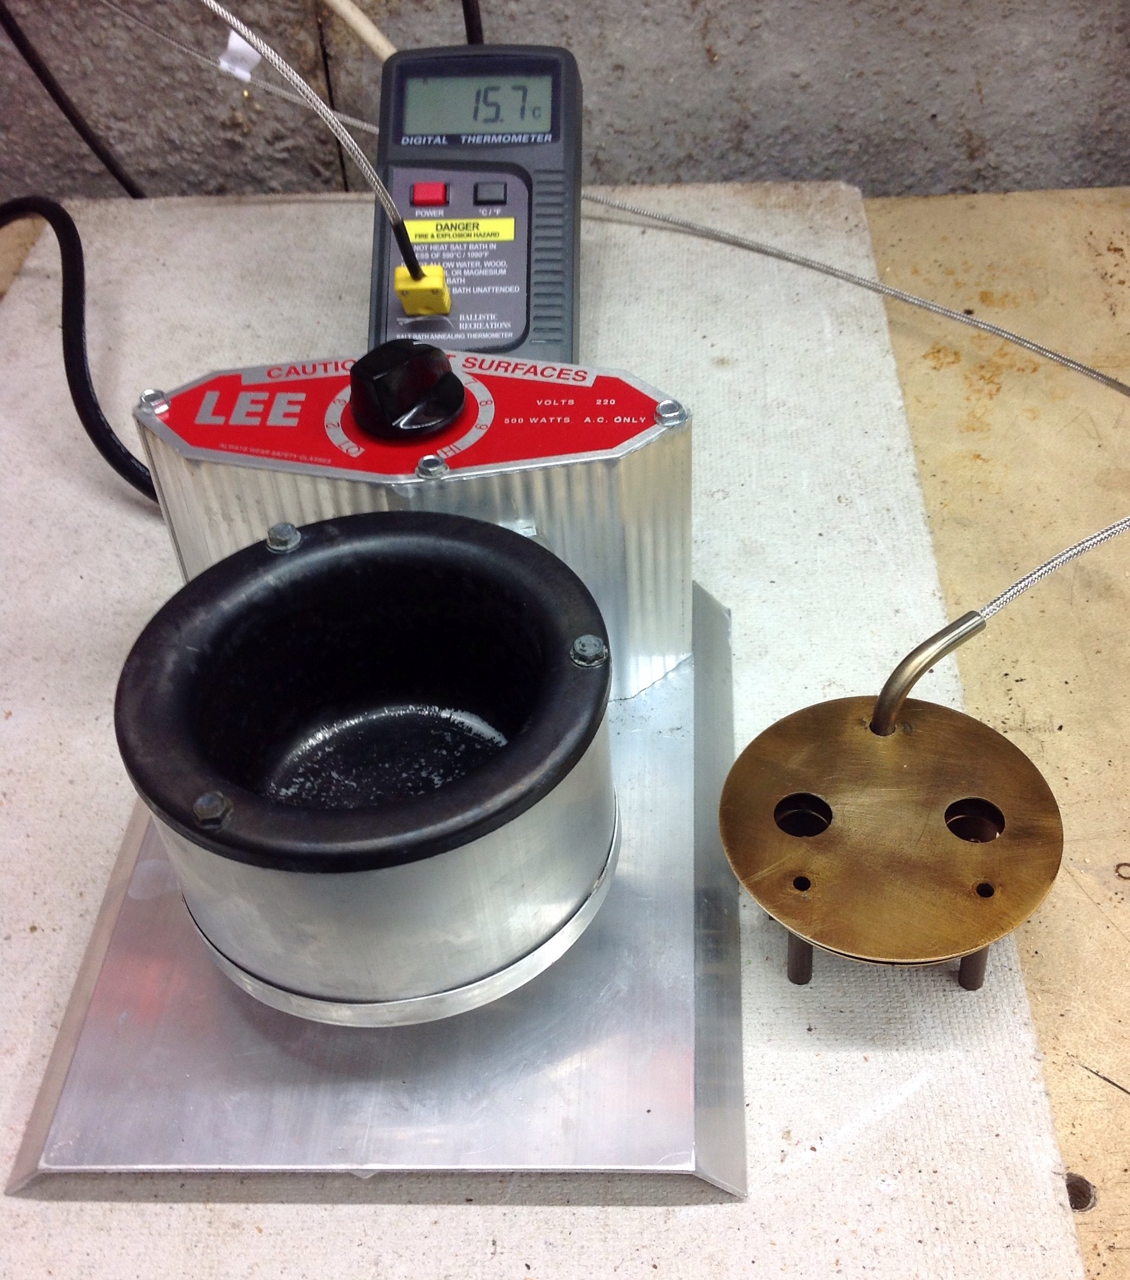
All you need to get started – digital thermometer, case holder and LEE pot
The salt
Gary from Ballistic Recreations was extremely helpful but he cannot ship the salts. However he told me the chemical compound of the salts that he used and also the percentage make-up for the solution.
• Potassium Nitrate 50%
• Sodium Nitrite 45%
• Sodium Nitrate 5%
I therefore needed to source the salts from the UK and I eventually came across a local company on the internet www.apcpure.com who would supply me with the salts separately in reasonable quantities. These would then need mixing to the required concentration. Here’s what I did:
Step 1 – Mix the dry salts. Note – not on the kitchen table! Ventilation is advised and your partner may not be best pleased…..
Step 2 – Place the dry salt mixture in the smelting pot and heat the salts to a melting point of 500 – 520 degrees centigrade in order for the annealing process to work.
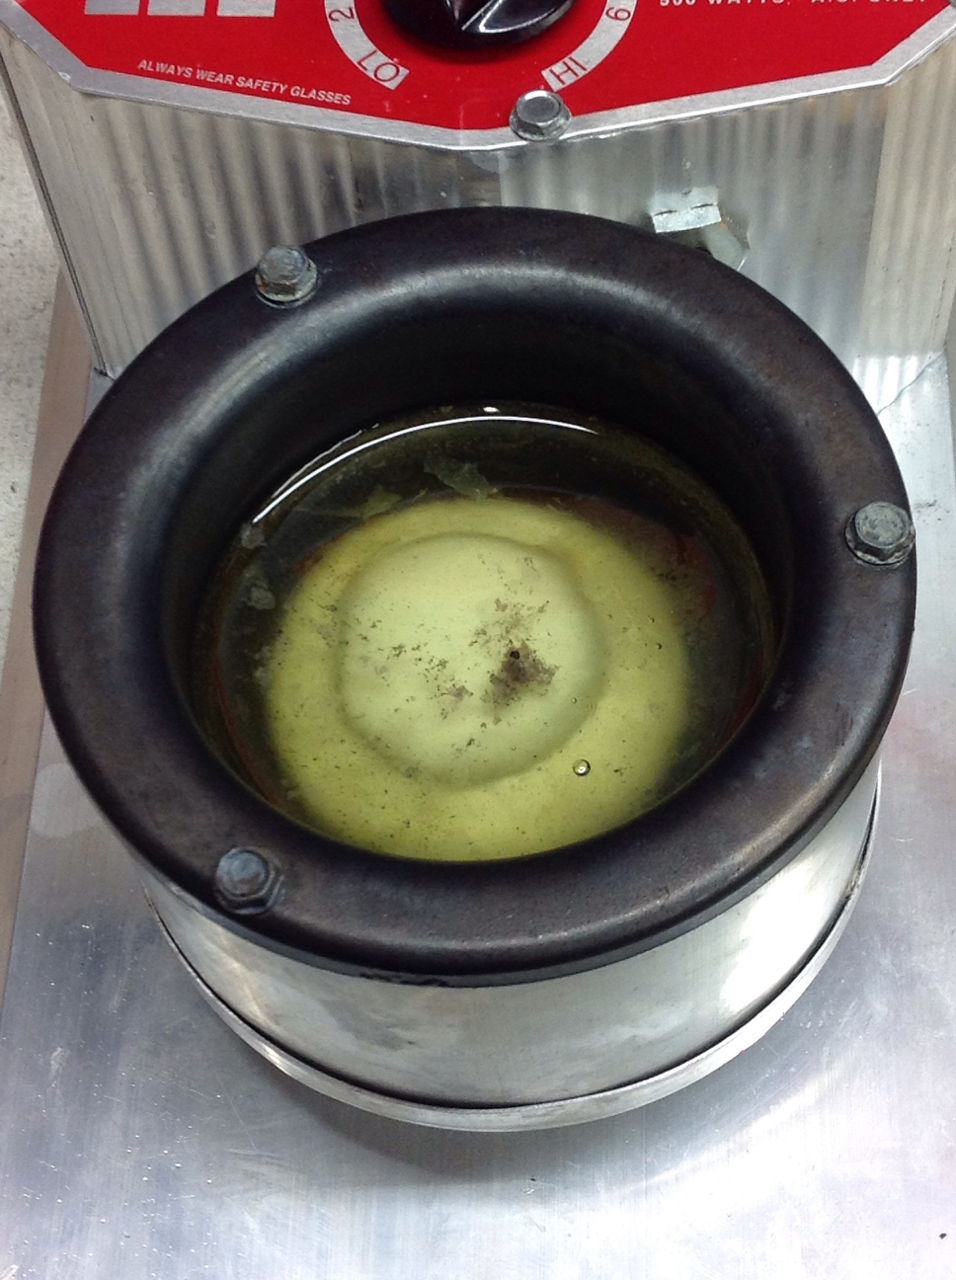
It took a while for the salt to melt and get the temperature stabilized using the digital thermometer. The salts go a dirty-water colour when the correct temperature is achieved.
Step 3 – Start annealing. With safety glasses in place, I started annealing. Initially a batch of 308 cases.
Process
• Set up a bucket of cold water close by, on the floor.
• Place the case-holder on top of the melting pot.
• Dip the neck/shoulder of the case into the hot salt.
• Remove the hot case (wearing a welder’s glove!) after 6 – 8 seconds and drop into the water bucket.
The water bucket drop is nothing to do with the annealing process –it is not necessary to quench the brass, it just washes off the salt.
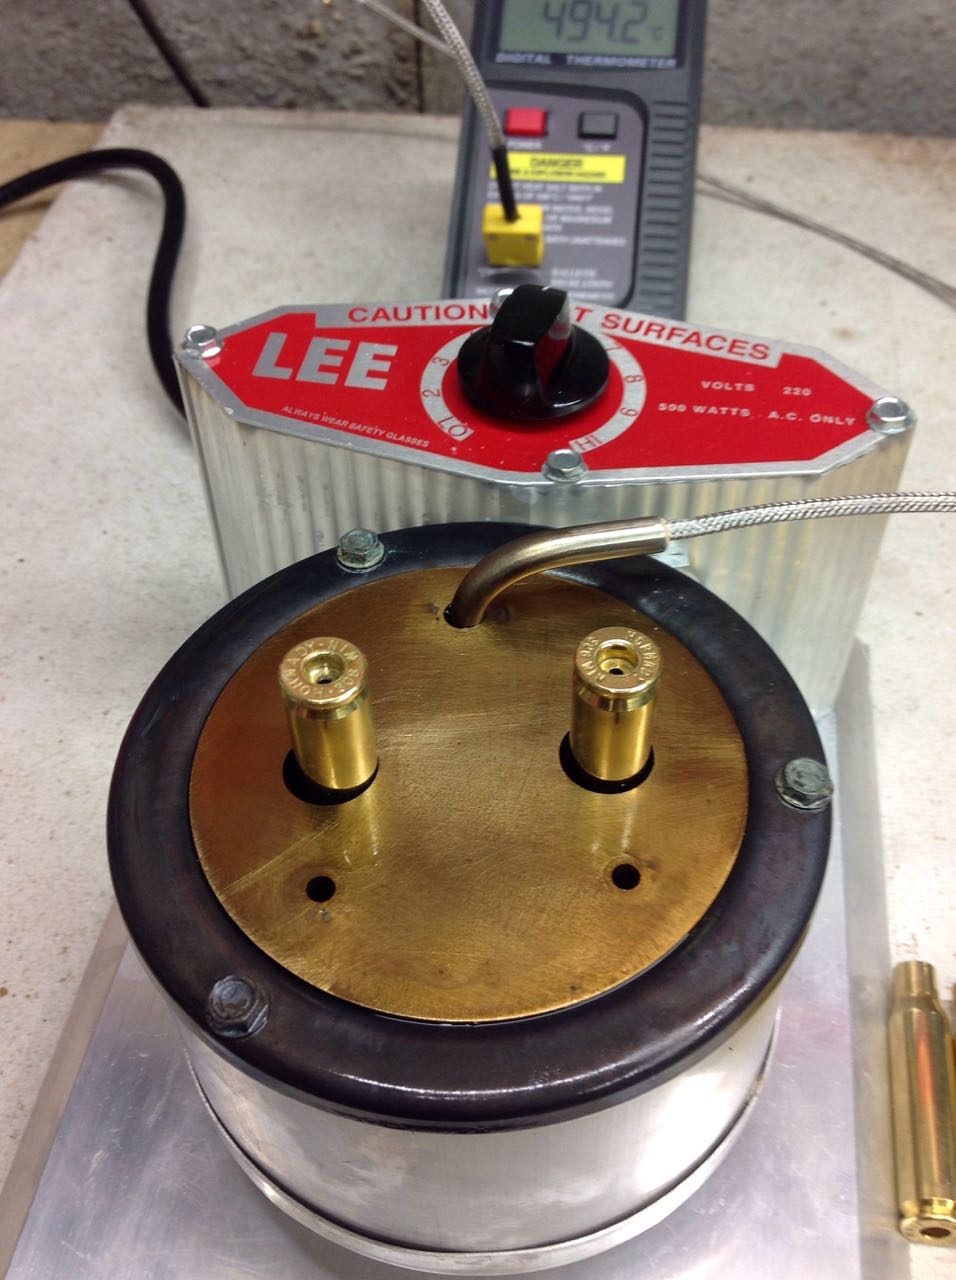
You can do two cases at once but it’s easier to drop one in as you are taking the other out
A 100 cases took me about 20 minutes but you could speed it up as the Ballistic Recreations ‘holder’ (see pic) has two holes in it – so two cases can be done at once if you wish. A ‘shelf’ incorporated into the holder which controls the immersion depth accurately rather than relying on guesswork. Obviously, if the case was immersed too deep, the case-head could be annealed – dangerous! This is easy to judge with longish cases like the 308 but with say a 6BR, the holder is essential.
Results
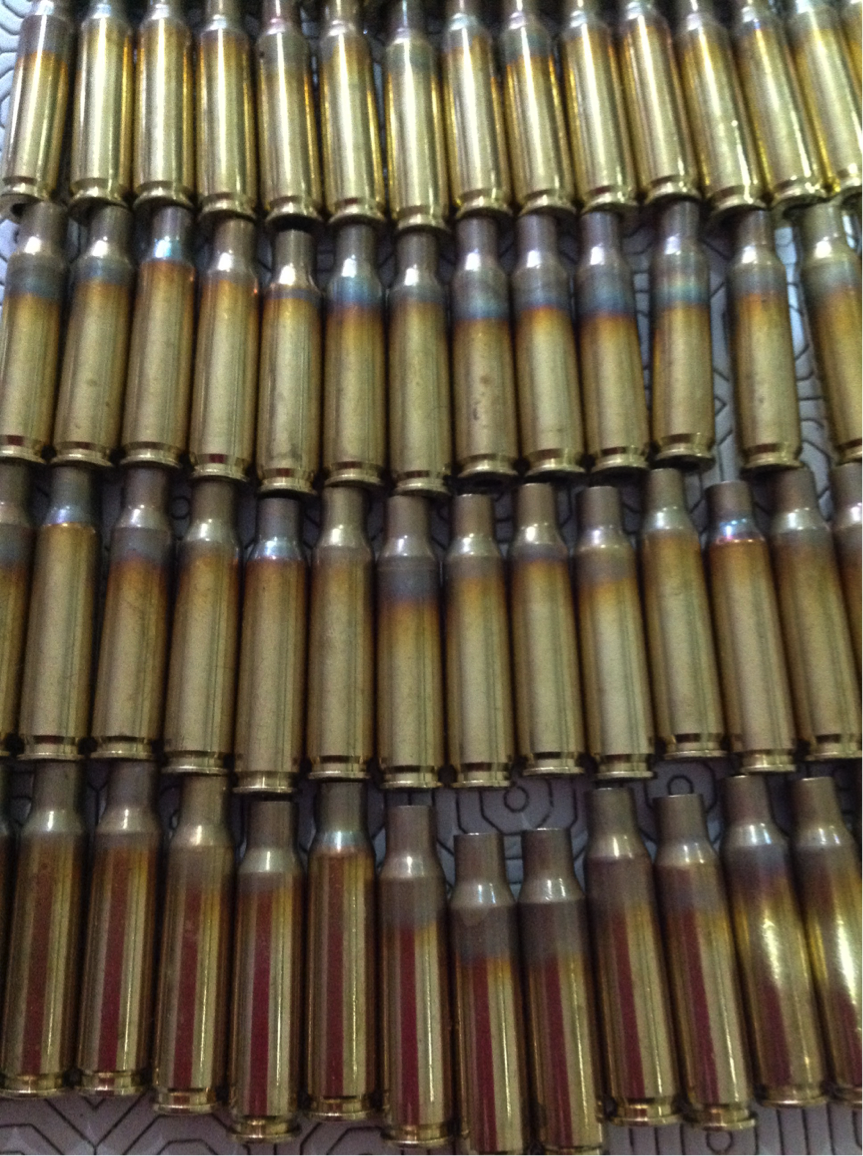
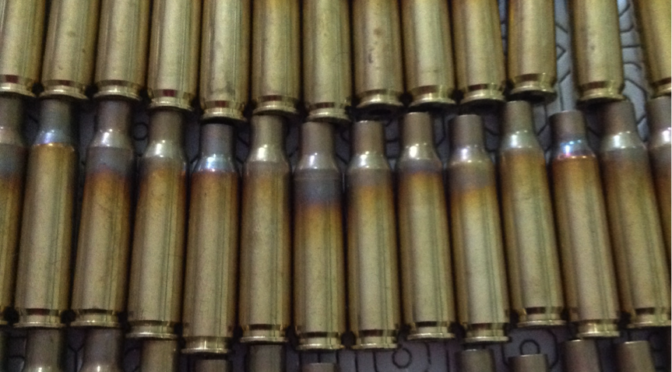
After annealing 100 cases, these are the results. As you can see pretty impressive
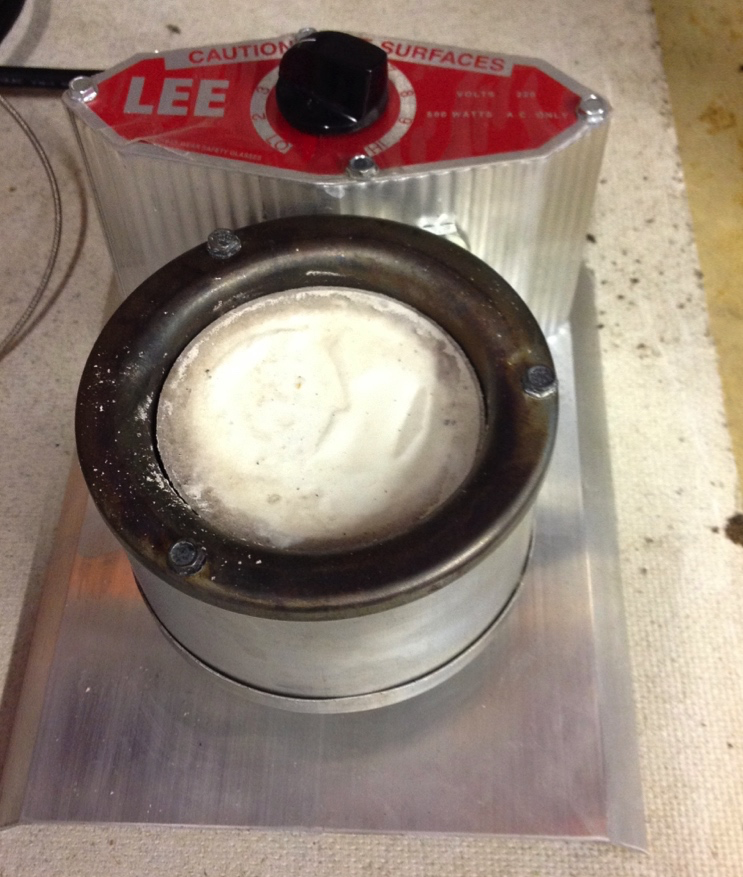
When you’ve finished annealing, allow the salt to cool and solidify. It shrinks slightly so you can just tip the solid block out of the LEE pot and store it until next time. Wipe the pot out with a damp cloth.

